How to Install LongCat AI Video Generator on Linux


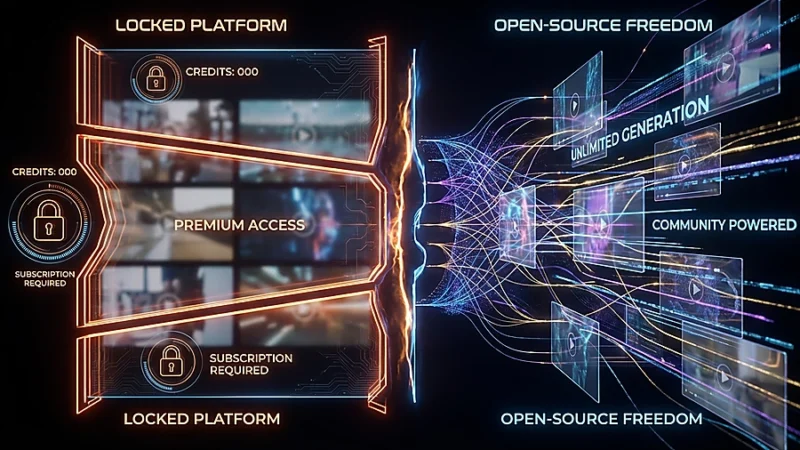
LongCat AI Video Generator is an open-source AI platform that allows users to generate text-to-video and image-to-video content with smooth motion, consistent lighting, and coherent scenes. Unlike many AI video tools, it is free to use, has no credit limits, and can run locally, giving creators full control over their content generation.
It was developed by Meituan, a major Chinese technology company, and the official code and model weights are hosted on GitHub under the repository Meituan-LongCat/LongCat-Video. The platform is designed for creators, marketers, businesses, and developers who want to produce high-quality AI videos efficiently.
For more details on LongCat check out this article.
🐧 Step-by-Step Install Guide
This guide walks you through installing LongCat AI (LongCat‑Video) on Linux, from prerequisites to your first generated video.
Note: Recommended setup uses an NVIDIA GPU with CUDA.
⚙️ 1. System Requirements
Operating System: Ubuntu 20.04+ or Debian-based Linux
Hardware:
- NVIDIA GPU with CUDA support (24GB VRAM recommended)
- 32GB+ RAM
- ≥ 30GB free disk space
Software:
- Python 3.10
- CUDA Toolkit 12.4
- Git
- Conda / Miniconda
🧰 2. Prepare Your System
2.1 Update System Packages
sudo apt update && sudo apt upgrade -y2.2 Install Required Tools
sudo apt install git build-essential ffmpeg -y2.3 Install Miniconda
wget https://repo.anaconda.com/miniconda/Miniconda3-latest-Linux-x86_64.sh
bash Miniconda3-latest-Linux-x86_64.sh
source ~/.bashrc
🐍 3. Create Python Environment
conda create -n longcat-video python=3.10 -y
conda activate longcat-video
📦 4. Clone the Repository
git clone --single-branch --branch main https://github.com/meituan-longcat/LongCat-Video
cd LongCat-Video
🧠 5. Install PyTorch with CUDA
pip install torch==2.6.0+cu124 torchvision==0.21.0+cu124 torchaudio==2.6.0 \
  --index-url https://download.pytorch.org/whl/cu124
⚡ 6. Install Performance Dependencies
6.1 FlashAttention‑2 (Optional)
pip install ninja psutil packaging flash_attn==2.7.4.post16.2 Remaining Requirements
pip install -r requirements.txt📥 7. Download Model Weights
pip install "huggingface_hub[cli]"
huggingface-cli login
huggingface-cli download meituan-longcat/LongCat-Video --local-dir ./weights/LongCat-Video
🚀 8. Run Your First Test
python inference.py --checkpoint_dir ./weights/LongCat-Video --task text2video \
  --prompt "A glowing futuristic city at dusk, cinematic motion" \
  --output_dir ./outputs
Output video will appear in
./outputs
🧠 9. Tips for Smooth Installation
- Ensure CUDA version matches PyTorch version (e.g., cu124 with CUDA 12.4)
- VRAM <24GB will slow or limit video length
- Skip FlashAttention if install fails (slower native PyTorch attention still works)
⚙️ 10. Optional: Docker Installation
- Use CUDA base image
- Install Python 3.10 + PyTorch
- Copy LongCat directory and install requirements
- Run container with GPU passthrough
✅ Summary
You now have:
✔ Linux system prepared
✔ Conda Python environment
✔ PyTorch + CUDA
✔ Required dependencies
✔ Model weights downloaded
✔ First test video generated
🐳 11. Optional: Docker Installation (GPU Ready)
Using Docker is a clean way to isolate LongCat AI from your main system. This section assumes you have NVIDIA GPU support installed.
11.1 Prerequisites
# Install Docker
sudo apt update
sudo apt install docker.io -y

# Enable and start Docker
sudo systemctl enable docker
sudo systemctl start docker

# Install NVIDIA Container Toolkit for GPU support
sudo apt install -y nvidia-container-toolkit
sudo systemctl restart docker

# Test GPU access inside Docker
docker run --rm --gpus all nvidia/cuda:12.2-base nvidia-smi
If
nvidia-smishows your GPU, Docker is ready.
11.2 Create a Dockerfile
Create a file called Dockerfile in your LongCat-Video project folder:
# Base image with CUDA support
FROM nvidia/cuda:12.2.0-cudnn8-runtime-ubuntu20.04

# Set working directory
WORKDIR /app

# Install system dependencies
RUN apt-get update && apt-get install -y git python3-pip ffmpeg build-essential && rm -rf /var/lib/apt/lists/*

# Install Python packages
COPY requirements.txt .
RUN pip3 install --upgrade pip
RUN pip3 install -r requirements.txt

# Copy LongCat code
COPY . .

# Default command
CMD ["bash"]
11.3 Build the Docker Image
docker build -t longcat-video .11.4 Run LongCat in a Container
docker run --gpus all -it --name longcat-container -v $(pwd):/app longcat-video
-v $(pwd):/appmounts your project folder so outputs are saved on the host system.
Inside the container, you can now run LongCat commands:
python inference.py --checkpoint_dir ./weights/LongCat-Video --task text2video \
  --prompt "A futuristic cityscape with neon lights, cinematic motion" \
  --output_dir ./outputs
11.5 Notes & Tips for Docker
- Docker isolates LongCat, so your main system stays clean
- GPU passthrough is required for reasonable speed
- Use
--rmif you want the container removed automatically after running - To enter the container anytime:
docker exec -it longcat-container bashThis Docker section complements the native Linux install, giving full flexibility depending on your environment.
Good luck and stay gray.
Article Word Cloud image